How to set up your first gaming console step by step for beginners
So you've just purchased your very first gaming console and you're excited to dive into the world of gaming. Congratulations! Setting up your console may seem like a daunting task at first, but fear not - we're here to guide you through the process step by step. By following these simple instructions, you'll have your gaming console up and running in no time.
Step 1: Unbox your console Carefully remove your console from its packaging, making sure not to damage any of the components. You should find the console itself, controllers, cables, and any additional accessories included in the box.
Step 2: Connect to your TV Locate the HDMI cable that came with your console and connect one end to the HDMI port on the back of your console and the other end to an available HDMI port on your TV. Make sure to power on both your console and TV.
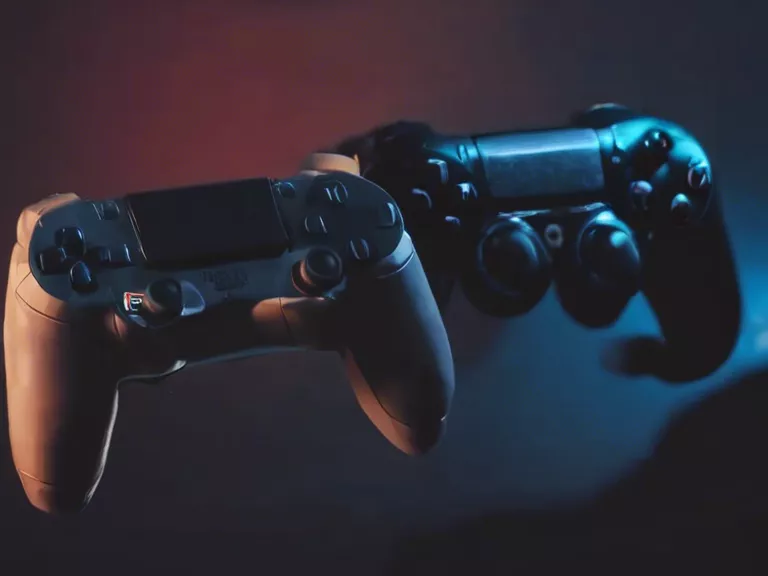
Step 3: Set up your controllers Insert batteries into your controllers and power them on. Follow the on-screen instructions on your console to pair your controllers. This may involve pressing buttons on the controllers or connecting them via USB.
Step 4: Update your console Once your console is connected to the internet, check for any available software updates. These updates may improve performance, add new features, or fix any bugs. Make sure to download and install these updates before you start gaming.
Step 5: Create a user account Follow the on-screen instructions to create a user account on your console. This account will be used to save your progress, access online features, and customize your gaming experience.
Congratulations, you've successfully set up your first gaming console! Now it's time to start exploring the vast world of gaming and enjoying all the incredible experiences that await you.